

Quick Start Guide
Get up and running with Soulstack in a few short steps.
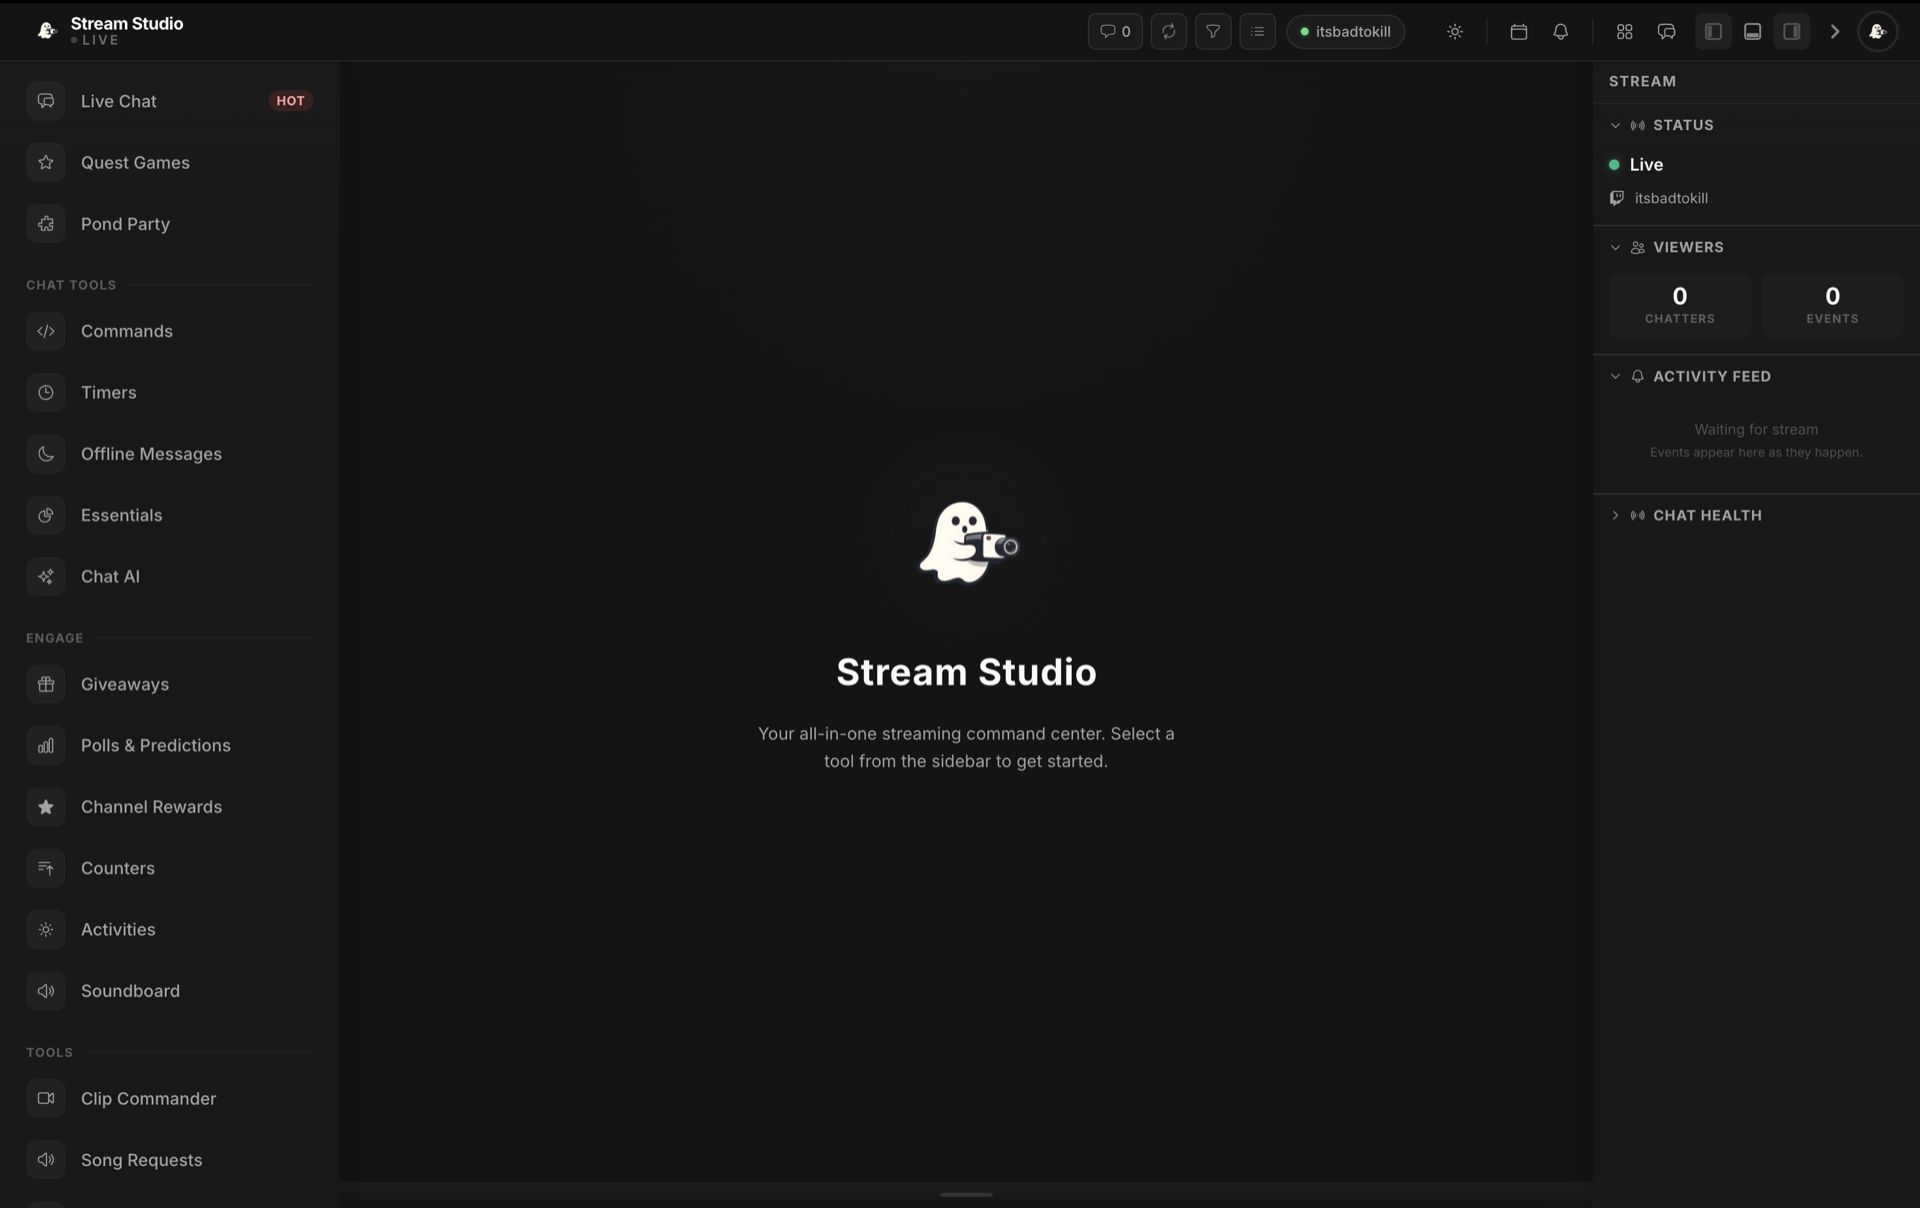
Getting started is easy
Follow these steps to set up your first Soulstack product. Whether you start with Stream Studio, Community Studio, or Slate, the flow is the same: create your account, pick a product, connect your platform, and configure how it behaves.
Create your account
Sign up for a free Soulstack account to unlock every product. You use the same account to configure your bots and your games.
- Open the Creator Console and choose "Sign up"
- Verify your email address
- Complete your profile
Choose your product
Pick the Soulstack product you want to set up first. Each product has its own configuration page with focused instructions.
- Stream Studio for Twitch control surfaces and games
- Community Studio for Discord communities
- Slate for collaborative drawing
Connect your platform
Link your Twitch or Discord account so the product can act on your behalf. Soulstack uses secure platform sign-in, so your password never leaves Twitch or Discord.
- Click "Connect" on your chosen product
- Authorise Soulstack from the Twitch or Discord prompt
- Grant the permissions the product needs
Configure your settings
Tailor the product to your channel or server. Set up commands, timers, rewards, and gameplay options from the Creator Console.
- Adjust bot behaviour and responses
- Configure commands and permissions
- Customise appearance and branding
Go live
Activate the product and start engaging your community. Monitor performance from the console and adjust as you learn what works.
- Enable the product from the dashboard
- Test commands and features
- Watch activity and analytics
Need more detail?
See the configuration guide for step-by-step instructions on each product.
Configuration Guide